
W Giants Bed liczy się przede wszystkim praktyka: co można tu złapać lub zdobyć, jakie walki czekają po drodze, które przedmioty warto podnieść i dokąd prowadzą wyjścia z lokacji.
Znaczenie tej lokacji dla progresu
Lokacja ma własną pulę co najmniej 60 Pokémonów, dlatego może być dobrym miejscem na uzupełnienie brakującego typu w drużynie.
Pokémony dostępne w tej lokacji
The Crown Tundra Shield
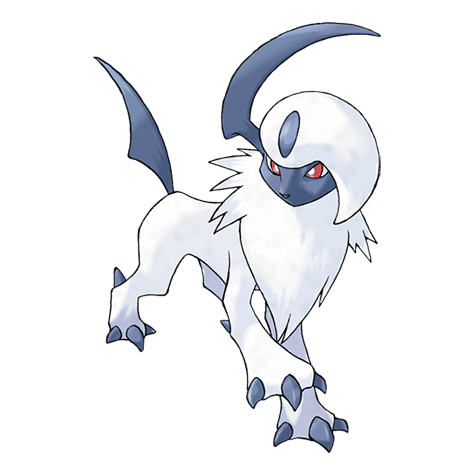 AbsolDarkoverworld · 5% chance · Lv. 60–65AbsolDarkwanderer · 100% chance · Lv. 65
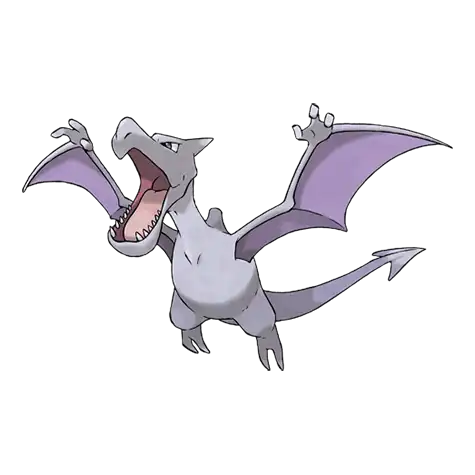 AerodactylRockFlyingwanderer · 100% chance · Lv. 65
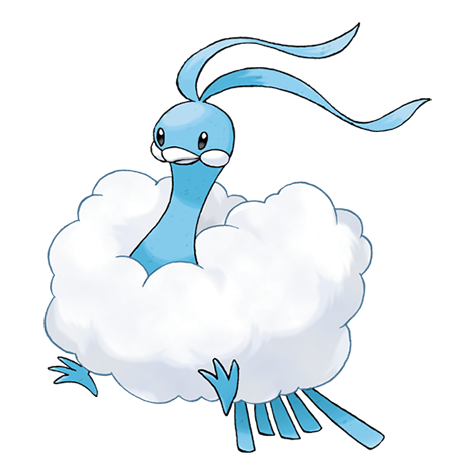 AltariaDragonFlyingmax raid · 100% chance · Lv. 45–60AltariaDragonFlyingwanderer · 100% chance · Lv. 65
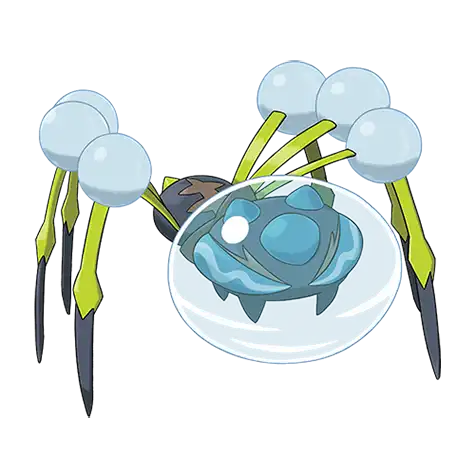 AraquanidWaterBugoverworld · 40% chance · Lv. 60–65AraquanidWaterBugwanderer · 100% chance · Lv. 65
 AronSteelRockmax raid · 100% chance · Lv. 15–40
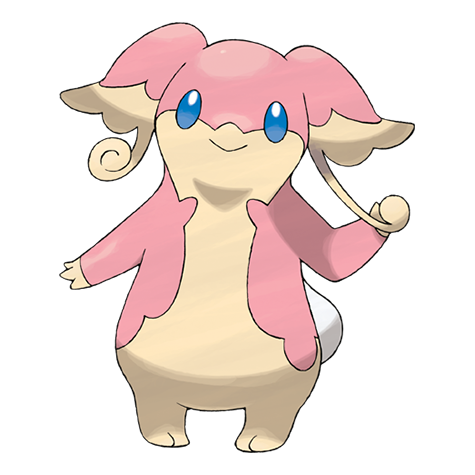 AudinoNormalmax raid · 15% chance · Lv. 35–60AudinoNormaloverworld · 8% chance · Lv. 60–65AudinoNormalwanderer · 100% chance · Lv. 62
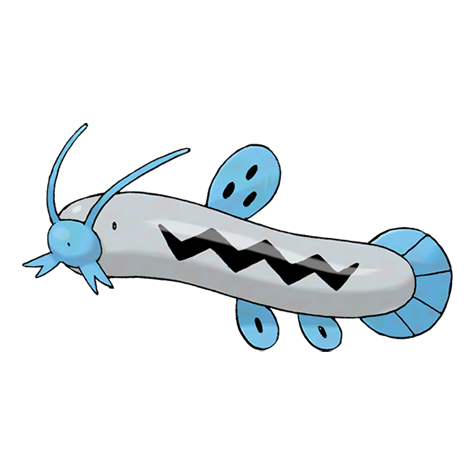 BarboachWaterGroundBubbling spot · 20% chance · Lv. 60–65BarboachWaterGroundoverworld water · 100% chance · Lv. 60–65
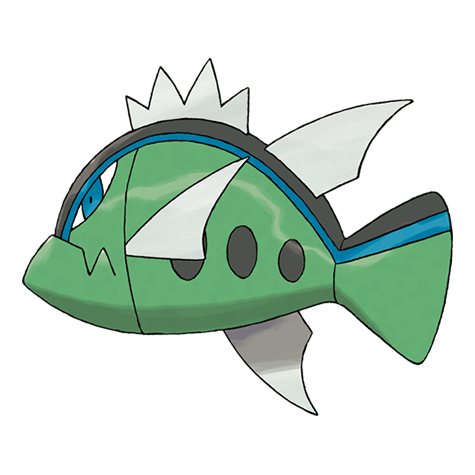 Basculin Blue StripedWaterBubbling spot · 20% chance · Lv. 60–65Basculin Blue StripedWatermax raid · 100% chance · Lv. 35–60Basculin Blue StripedWateroverworld water · 100% chance · Lv. 60–65
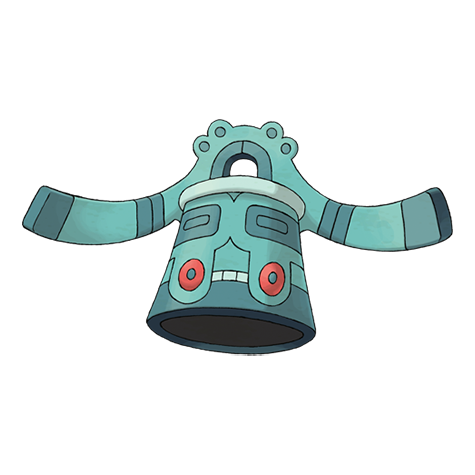 BronzongSteelPsychicoverworld · 100% chance · Lv. 60–65BronzongSteelPsychicwanderer · 100% chance · Lv. 63
 ChandelureGhostFiremax raid · 70% chance · Lv. 45–60ChandelureGhostFirewanderer · 100% chance · Lv. 65
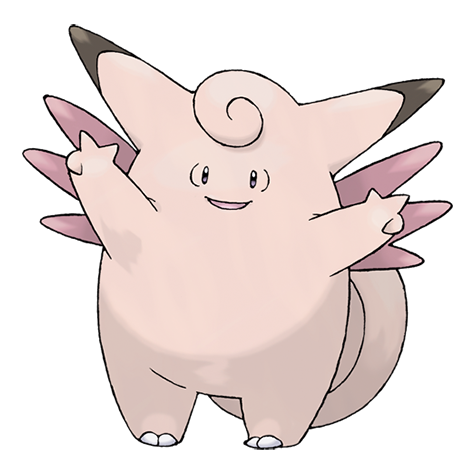 ClefableFairywanderer · 100% chance · Lv. 63
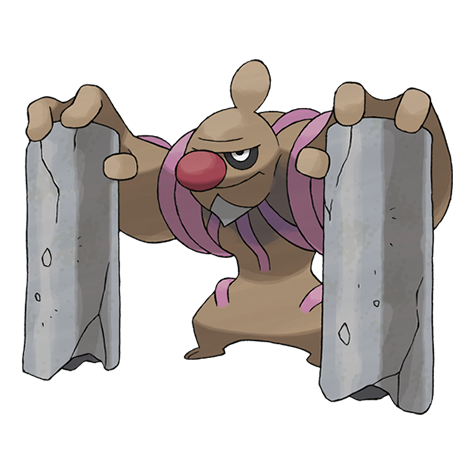 ConkeldurrFightingmax raid · 100% chance · Lv. 45–60ConkeldurrFightingwanderer · 100% chance · Lv. 65
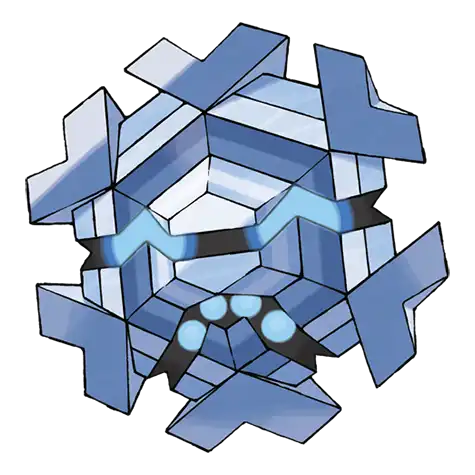 CryogonalIceoverworld · 20% chance · Lv. 60–65CryogonalIcewanderer · 100% chance · Lv. 62
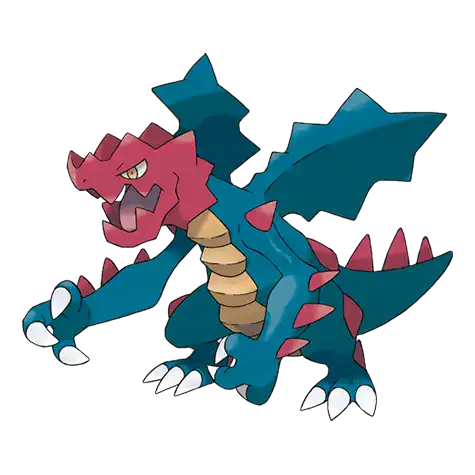 DruddigonDragonmax raid · 100% chance · Lv. 15–60
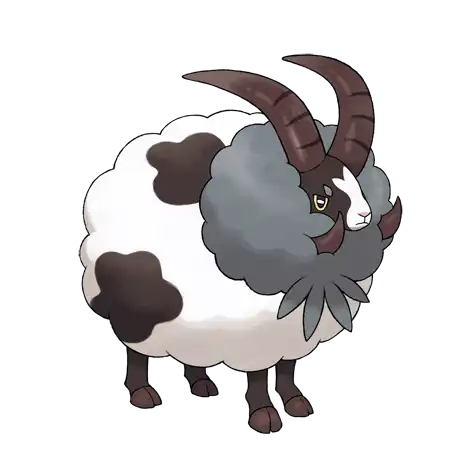 DubwoolNormalmax raid · 100% chance · Lv. 35–60DubwoolNormaloverworld · 30% chance · Lv. 60–65DubwoolNormalwanderer · 100% chance · Lv. 63
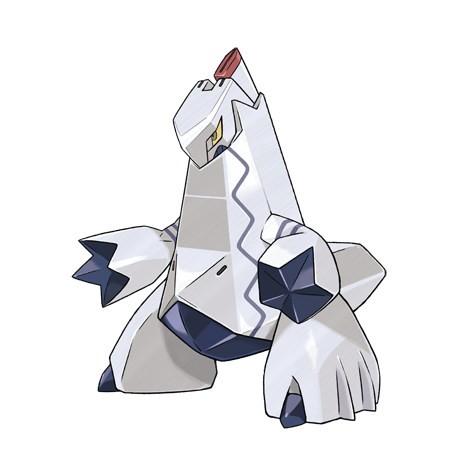 DuraludonSteelDragonmax raid · 100% chance · Lv. 15–50
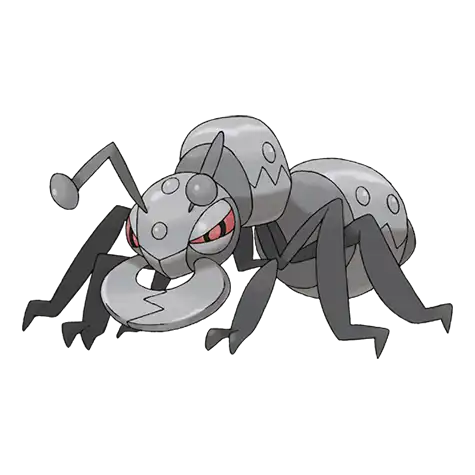 DurantBugSteelmax raid · 100% chance · Lv. 15–60DurantBugSteeloverworld · 5% chance · Lv. 60–65DurantBugSteelwanderer · 100% chance · Lv. 63
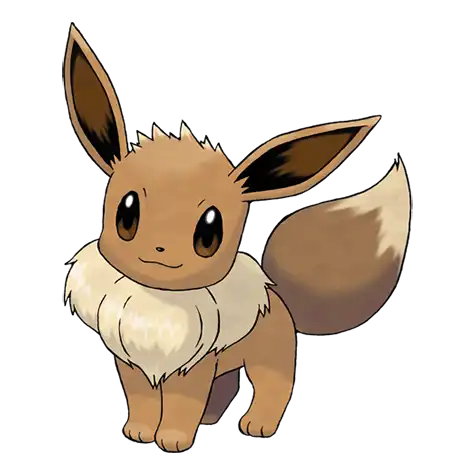 EeveeNormaloverworld · 5% chance · Lv. 60–65EeveeNormalwanderer · 100% chance · Lv. 60
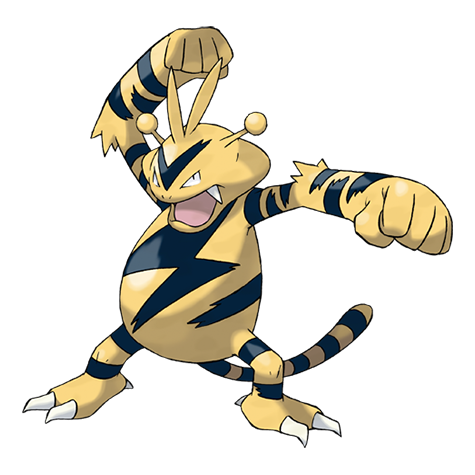 ElectabuzzElectricoverworld · 10% chance · Lv. 60–65ElectabuzzElectricwanderer · 100% chance · Lv. 63
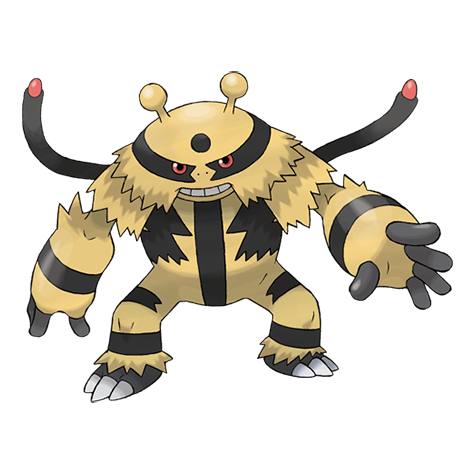 ElectivireElectricwanderer · 100% chance · Lv. 65
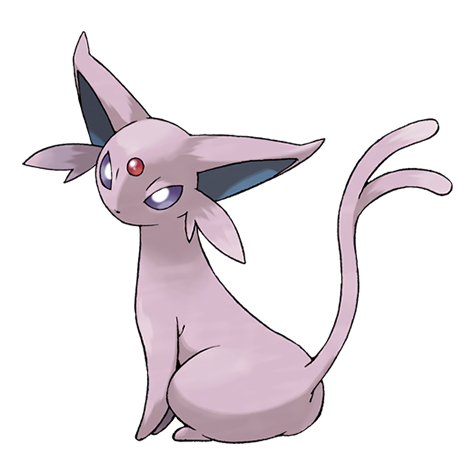 EspeonPsychicwanderer · 100% chance · Lv. 63
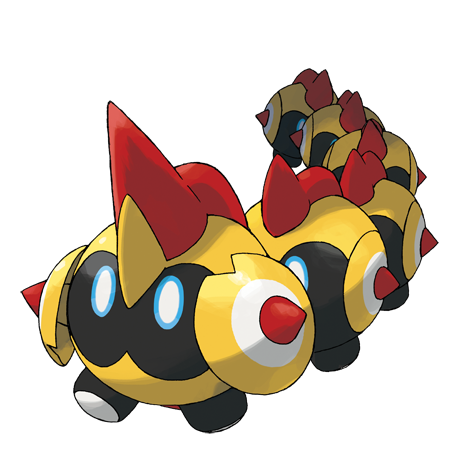 FalinksFightingmax raid · 100% chance · Lv. 15–50
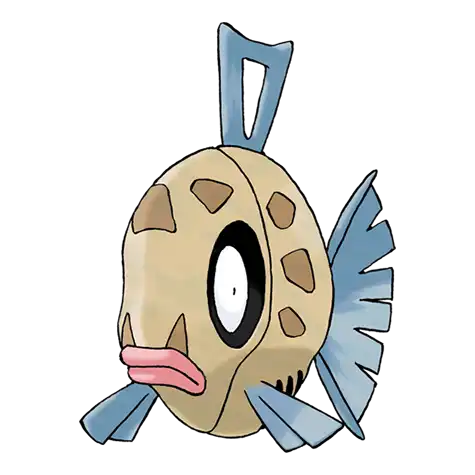 FeebasWatermax raid · 100% chance · Lv. 15–40FeebasWateroverworld water · 8% chance · Lv. 60–65
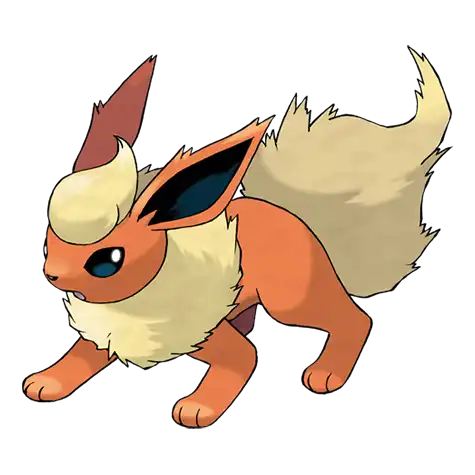 FlareonFirewanderer · 100% chance · Lv. 63
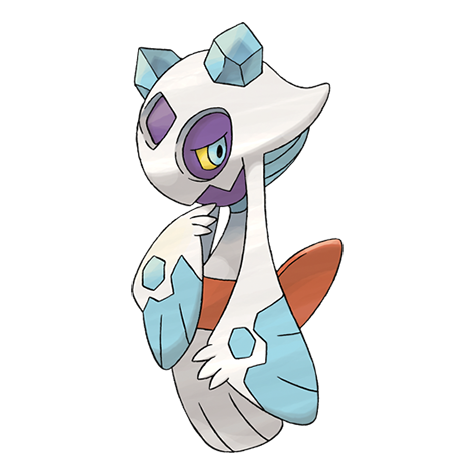 FroslassIceGhostwanderer · 100% chance · Lv. 65
 FrosmothIceBugmax raid · 100% chance · Lv. 45–60
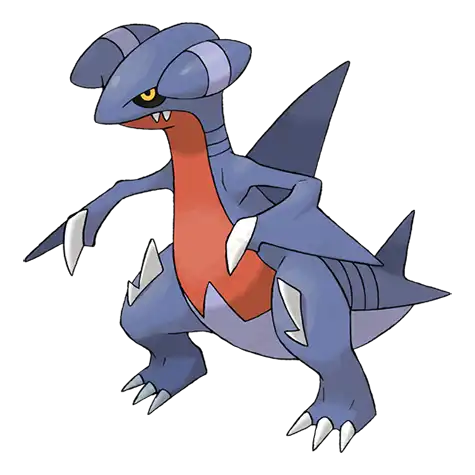 GabiteDragonGroundmax raid · 100% chance · Lv. 35–60
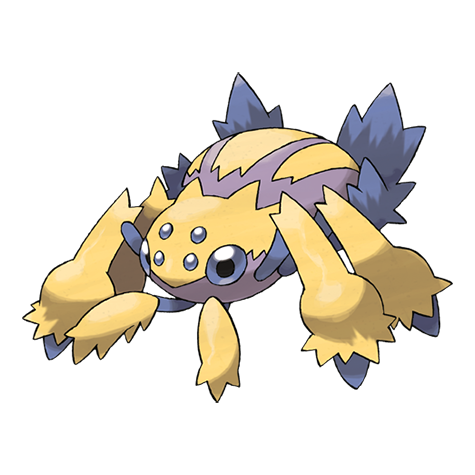 GalvantulaBugElectricoverworld · 10% chance · Lv. 60–65GalvantulaBugElectricwanderer · 100% chance · Lv. 63
The Crown Tundra Sword
AbsolDarkoverworld · 5% chance · Lv. 60–65AbsolDarkwanderer · 100% chance · Lv. 65AerodactylRockFlyingwanderer · 100% chance · Lv. 65AltariaDragonFlyingmax raid · 100% chance · Lv. 45–60AltariaDragonFlyingwanderer · 100% chance · Lv. 65AraquanidWaterBugoverworld · 40% chance · Lv. 60–65AraquanidWaterBugwanderer · 100% chance · Lv. 65AronSteelRockmax raid · 100% chance · Lv. 15–40AudinoNormalmax raid · 15% chance · Lv. 35–60AudinoNormaloverworld · 8% chance · Lv. 60–65AudinoNormalwanderer · 100% chance · Lv. 62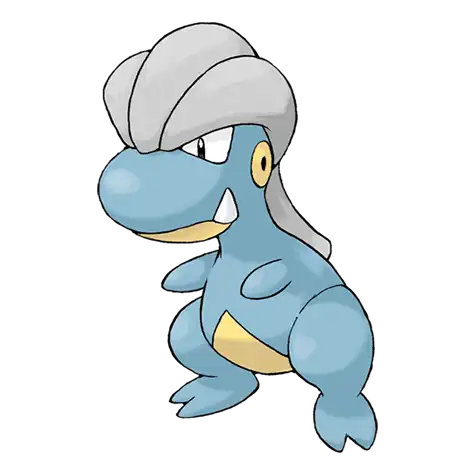 BagonDragonmax raid · 100% chance · Lv. 15–40BarboachWaterGroundBubbling spot · 20% chance · Lv. 60–65BarboachWaterGroundoverworld water · 100% chance · Lv. 60–65
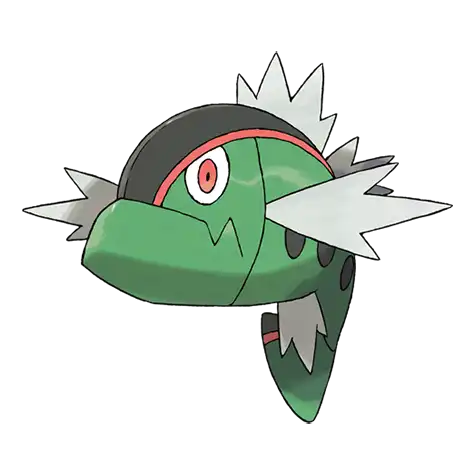 Basculin Red StripedWaterBubbling spot · 20% chance · Lv. 60–65Basculin Red StripedWatermax raid · 100% chance · Lv. 35–60Basculin Red StripedWateroverworld water · 100% chance · Lv. 60–65BronzongSteelPsychicoverworld · 92% chance · Lv. 60–65BronzongSteelPsychicwanderer · 100% chance · Lv. 63ChandelureGhostFiremax raid · 70% chance · Lv. 45–60ChandelureGhostFirewanderer · 100% chance · Lv. 65ClefableFairywanderer · 100% chance · Lv. 63ConkeldurrFightingmax raid · 90% chance · Lv. 45–60ConkeldurrFightingwanderer · 100% chance · Lv. 65CryogonalIceoverworld · 20% chance · Lv. 60–65CryogonalIcewanderer · 100% chance · Lv. 62
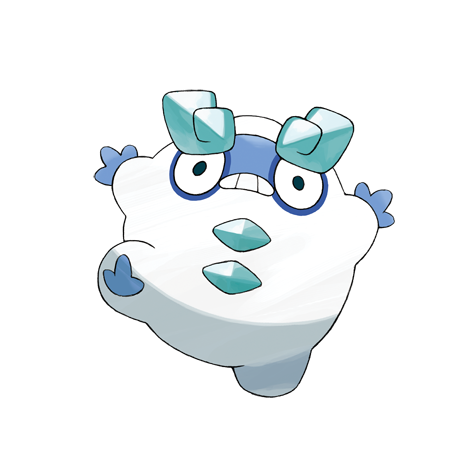 Darumaka GalarIcemax raid · 100% chance · Lv. 15–30DruddigonDragonmax raid · 100% chance · Lv. 15–60DubwoolNormalmax raid · 100% chance · Lv. 35–60DubwoolNormaloverworld · 30% chance · Lv. 60–65DubwoolNormalwanderer · 100% chance · Lv. 63DuraludonSteelDragonmax raid · 100% chance · Lv. 15–50DurantBugSteelmax raid · 100% chance · Lv. 15–60DurantBugSteeloverworld · 5% chance · Lv. 60–65DurantBugSteelwanderer · 100% chance · Lv. 63EeveeNormaloverworld · 5% chance · Lv. 60–65EeveeNormalwanderer · 100% chance · Lv. 60ElectabuzzElectricoverworld · 10% chance · Lv. 60–65ElectabuzzElectricwanderer · 100% chance · Lv. 63ElectivireElectricwanderer · 100% chance · Lv. 65EspeonPsychicwanderer · 100% chance · Lv. 63FalinksFightingmax raid · 100% chance · Lv. 15–50FeebasWatermax raid · 100% chance · Lv. 15–40FeebasWateroverworld water · 8% chance · Lv. 60–65FlareonFirewanderer · 100% chance · Lv. 63FroslassIceGhostwanderer · 100% chance · Lv. 65FrosmothIceBugmax raid · 70% chance · Lv. 45–60GalvantulaBugElectricoverworld · 10% chance · Lv. 60–65
Na które spotkania warto zwrócić uwagę?
ma wyraźny profil ofensywny (Atak 123) i wystarczające tempo lub wytrzymałość, by być praktycznym członkiem drużyny podczas przechodzenia fabuły.
ma wyraźny profil ofensywny (Atak Specjalny 120) i wystarczające tempo lub wytrzymałość, by być praktycznym członkiem drużyny podczas przechodzenia fabuły.
może obsługiwać ruchy terenowe Strength, Flash, Rock Smash, Rock Climb. To dobry kandydat na pomocnika do eksploracji, jeśli te ruchy są wymagane w wybranej wersji gry.
może obsługiwać ruchy terenowe Cut, Flash. To dobry kandydat na pomocnika do eksploracji, jeśli te ruchy są wymagane w wybranej wersji gry.
profil bazowych statystyk (Szybkość 130 i ofensywa 105) daje sensowny punkt wyjścia do setów PvP. Konkretna przydatność zależy jednak od formatu, generacji, Ability i dostępnych ruchów.
profil bazowych statystyk (Szybkość 109 i ofensywa 109) daje sensowny punkt wyjścia do setów PvP. Konkretna przydatność zależy jednak od formatu, generacji, Ability i dostępnych ruchów.