
Giants Cap to lokacja specjalna w regionie Galar. Najważniejsze są tu spotkania z Pokémonami, przedmioty, trenerzy oraz połączenia z kolejnymi punktami podróży.
Co warto zrobić podczas pierwszej wizyty?
Lokacja ma własną pulę co najmniej 60 Pokémonów, dlatego może być dobrym miejscem na uzupełnienie brakującego typu w drużynie.
Dzikie Pokémony i specjalne spotkania
Pokémon Shield
 Aegislash ShieldSteelGhostwanderer · 100% chance · Lv. 56–60
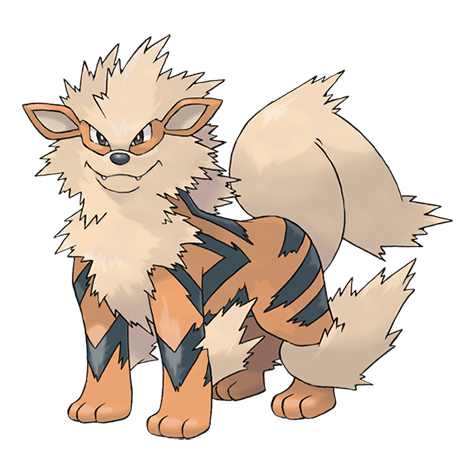 ArcanineFiremax raid · 100% chance · Lv. 35–60
 BearticIcewanderer · 100% chance · Lv. 60
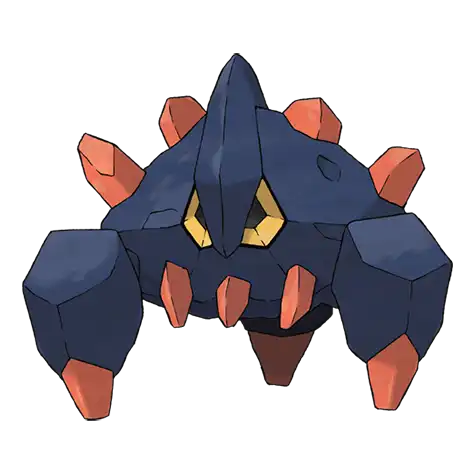 BoldoreRockoverworld dirt · 100% chance · Lv. 31–60
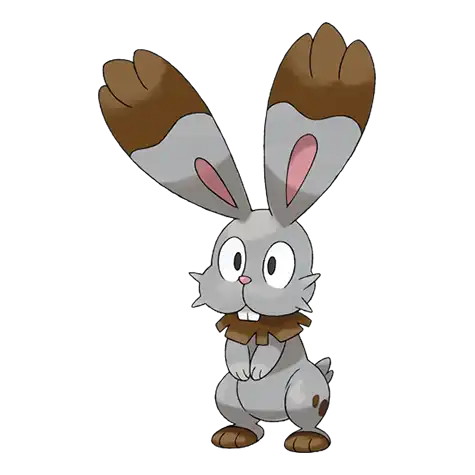 BunnelbyNormaloverworld · 100% chance · Lv. 28–60
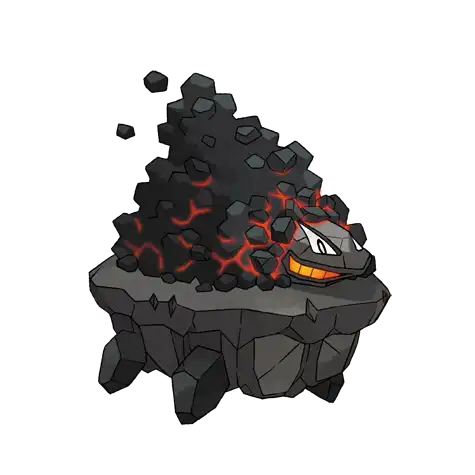 CarkolRockFiremax raid · 40% chance · Lv. 25–40CarkolRockFireoverworld · 100% chance · Lv. 28–60
 ChewtleWatermax raid · 50% chance · Lv. 15–30ChewtleWateroverworld · 100% chance · Lv. 28–60
 CinccinoNormalwanderer · 100% chance · Lv. 46–60
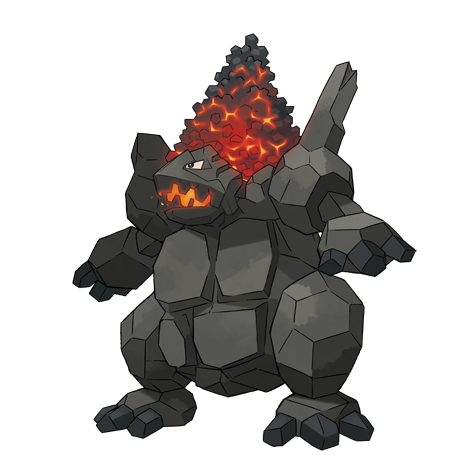 CoalossalRockFirewanderer · 100% chance · Lv. 65
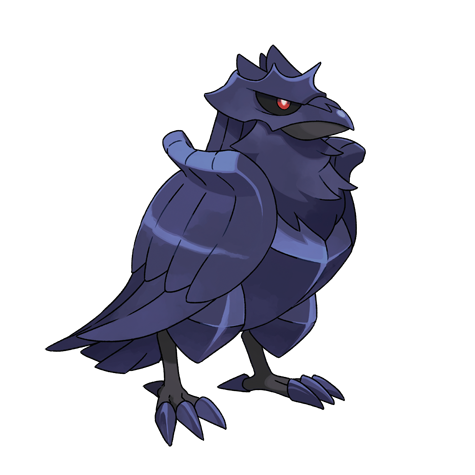 CorviknightFlyingSteelmax raid · 35% chance · Lv. 45–60CorviknightFlyingSteelwanderer · 100% chance · Lv. 40–60
 CorvisquireFlyingmax raid · 100% chance · Lv. 25–40
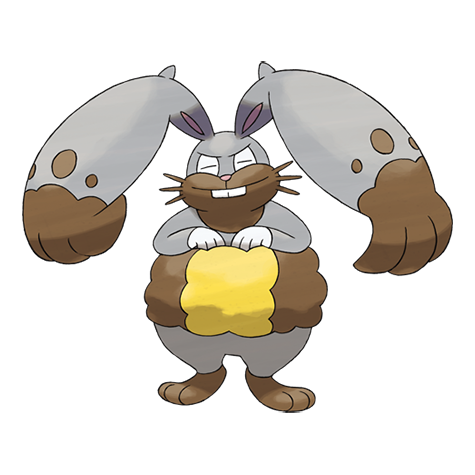 DiggersbyNormalGroundoverworld · 100% chance · Lv. 28–60
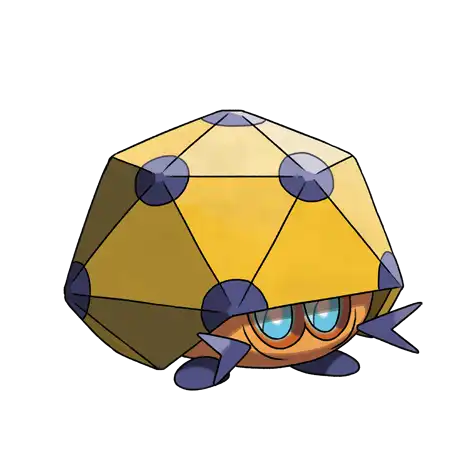 DottlerBugPsychicoverworld · 100% chance · Lv. 28–60DottlerBugPsychicWild encounter · 100% chance · Lv. 26–60
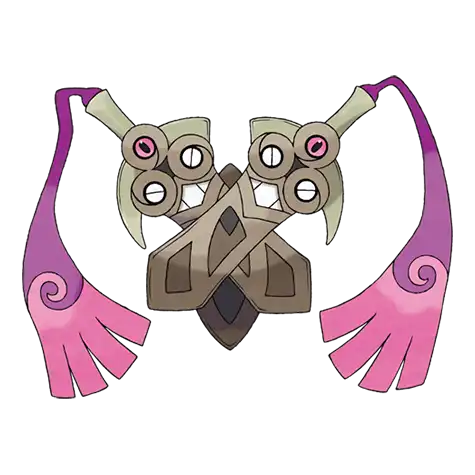 DoubladeSteelGhostwanderer · 100% chance · Lv. 56–60
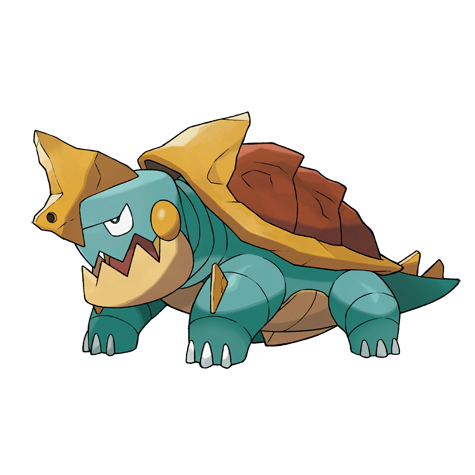 DrednawWaterRockoverworld · 100% chance · Lv. 28–60DrednawWaterRockwanderer · 100% chance · Lv. 36–60
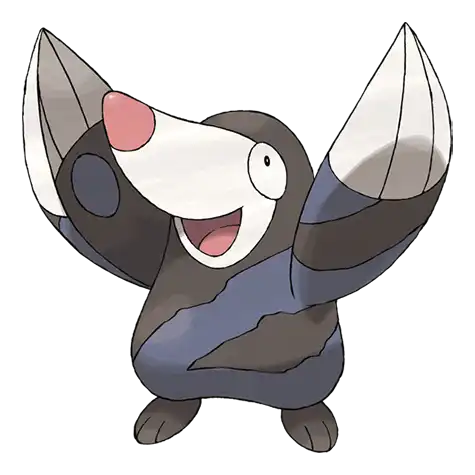 DrilburGroundWild encounter · 100% chance · Lv. 26–60
 EldegossGrassWild encounter · 100% chance · Lv. 26–60
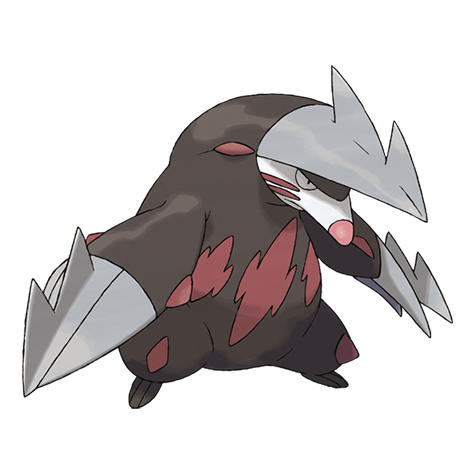 ExcadrillGroundSteelwanderer · 100% chance · Lv. 46–60
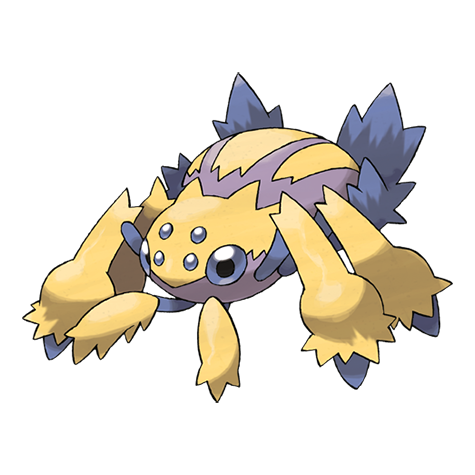 GalvantulaBugElectricmax raid · 35% chance · Lv. 45–60GalvantulaBugElectricwanderer · 100% chance · Lv. 46–60
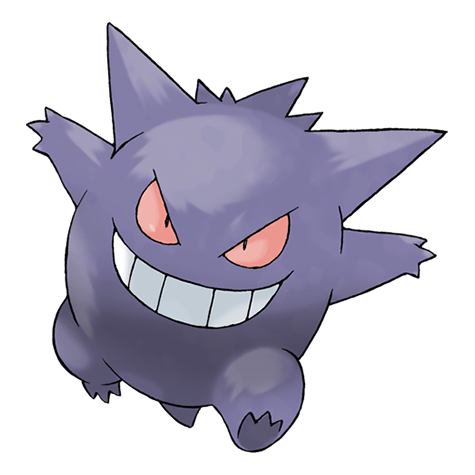 GengarGhostPoisonwanderer · 100% chance · Lv. 60
 GlalieIcemax raid · 100% chance · Lv. 35–60GlalieIcewanderer · 100% chance · Lv. 46–60
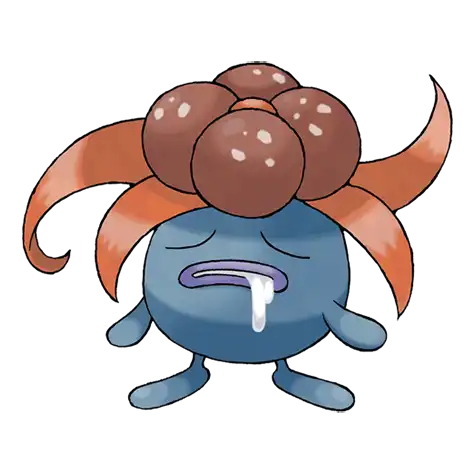 GloomGrassPoisonmax raid · 20% chance · Lv. 25–30GloomGrassPoisonoverworld · 100% chance · Lv. 28–60
 GoldeenWaterBubbling spot · 100% chance · Lv. 26–60
 GolettGroundGhostWild encounter · 100% chance · Lv. 26–60
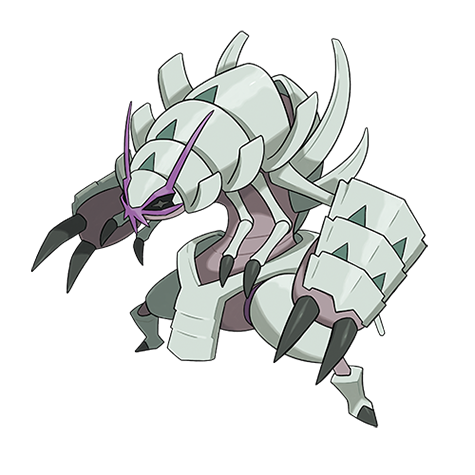 GolisopodBugWaterwanderer · 100% chance · Lv. 60
 GreedentNormalberry trees · 100% chance · Lv. 26–60
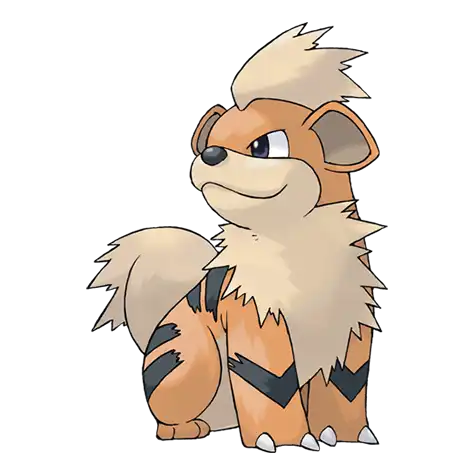 GrowlitheFiremax raid · 100% chance · Lv. 15–30
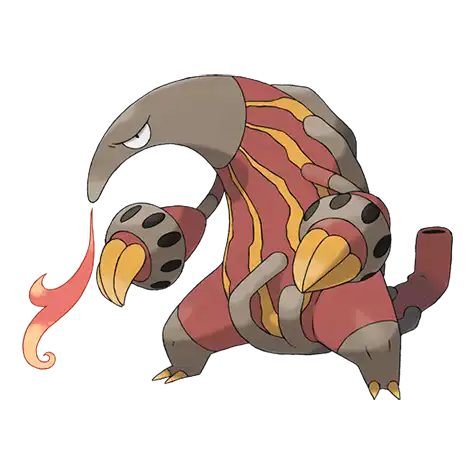 HeatmorFiremax raid · 100% chance · Lv. 25–60
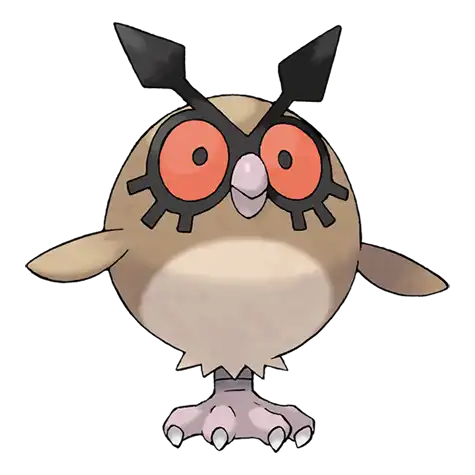 HoothootNormalFlyingmax raid · 35% chance · Lv. 15–20HoothootNormalFlyingoverworld · 100% chance · Lv. 28–60
 KoffingPoisonmax raid · 95% chance · Lv. 15–50
 LampentGhostFiremax raid · 100% chance · Lv. 25–50
 Linoone GalarDarkNormaloverworld · 100% chance · Lv. 28–60
 LitwickGhostFiremax raid · 90% chance · Lv. 15–30
 LunatoneRockPsychicoverworld dirt · 100% chance · Lv. 41–60
 MinccinoNormaloverworld · 100% chance · Lv. 28–60
 Mr RimeIcePsychicmax raid · 100% chance · Lv. 35–60
 MunnaPsychicWild encounter · 100% chance · Lv. 26–60
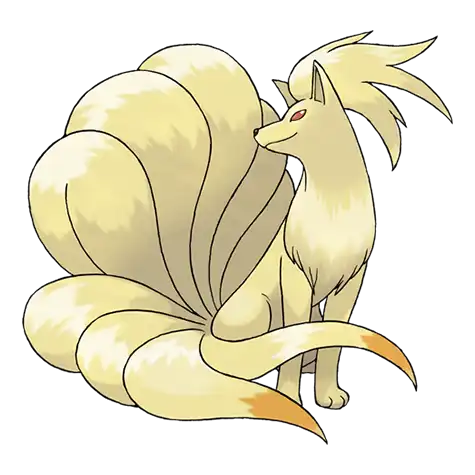 NinetalesFiremax raid · 40% chance · Lv. 45–60
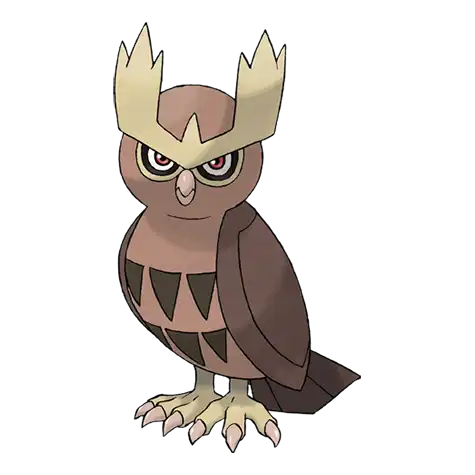 NoctowlNormalFlyingmax raid · 45% chance · Lv. 35–50
Pokémon Sword
Aegislash ShieldSteelGhostwanderer · 100% chance · Lv. 56–60ArcanineFiremax raid · 40% chance · Lv. 45–60BearticIcewanderer · 100% chance · Lv. 60BoldoreRockoverworld dirt · 100% chance · Lv. 31–60BunnelbyNormaloverworld · 100% chance · Lv. 28–60CarkolRockFiremax raid · 40% chance · Lv. 25–40CarkolRockFireoverworld · 100% chance · Lv. 28–60ChewtleWatermax raid · 50% chance · Lv. 15–30ChewtleWateroverworld · 100% chance · Lv. 28–60CinccinoNormalwanderer · 100% chance · Lv. 46–60CoalossalRockFirewanderer · 100% chance · Lv. 65CorviknightFlyingSteelmax raid · 35% chance · Lv. 45–60CorviknightFlyingSteelwanderer · 100% chance · Lv. 40–60CorvisquireFlyingmax raid · 100% chance · Lv. 25–40DiggersbyNormalGroundoverworld · 100% chance · Lv. 28–60DottlerBugPsychicoverworld · 100% chance · Lv. 28–60DottlerBugPsychicWild encounter · 100% chance · Lv. 26–60DoubladeSteelGhostwanderer · 100% chance · Lv. 56–60DrednawWaterRockoverworld · 100% chance · Lv. 28–60DrednawWaterRockwanderer · 100% chance · Lv. 36–60DrilburGroundWild encounter · 100% chance · Lv. 26–60EldegossGrassWild encounter · 100% chance · Lv. 26–60ExcadrillGroundSteelwanderer · 100% chance · Lv. 46–60GalvantulaBugElectricmax raid · 45% chance · Lv. 45–60GalvantulaBugElectricwanderer · 100% chance · Lv. 46–60GengarGhostPoisonwanderer · 100% chance · Lv. 60GlalieIcemax raid · 100% chance · Lv. 35–60GlalieIcewanderer · 100% chance · Lv. 46–60GloomGrassPoisonmax raid · 20% chance · Lv. 25–30GloomGrassPoisonoverworld · 100% chance · Lv. 28–60GoldeenWaterBubbling spot · 100% chance · Lv. 26–60GolettGroundGhostWild encounter · 100% chance · Lv. 26–60GolisopodBugWaterwanderer · 100% chance · Lv. 60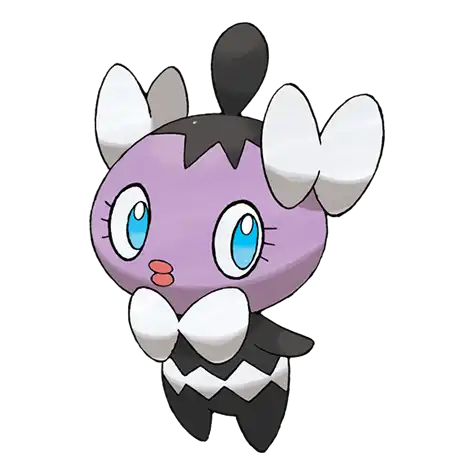 GothitaPsychicoverworld · 100% chance · Lv. 28–60
 GothoritaPsychicoverworld · 100% chance · Lv. 29–60GreedentNormalberry trees · 100% chance · Lv. 26–60HeatmorFiremax raid · 70% chance · Lv. 35–60HoothootNormalFlyingmax raid · 35% chance · Lv. 15–20HoothootNormalFlyingoverworld · 100% chance · Lv. 28–60KoffingPoisonmax raid · 95% chance · Lv. 15–50LampentGhostFiremax raid · 90% chance · Lv. 25–50Linoone GalarDarkNormaloverworld · 100% chance · Lv. 28–60LitwickGhostFiremax raid · 90% chance · Lv. 15–30MinccinoNormaloverworld · 100% chance · Lv. 28–60Mr RimeIcePsychicmax raid · 100% chance · Lv. 35–60MunnaPsychicWild encounter · 100% chance · Lv. 26–60NinetalesFiremax raid · 100% chance · Lv. 35–60NoctowlNormalFlyingmax raid · 45% chance · Lv. 35–50
Najciekawsze Pokémony pod konkretne zastosowania
ma wyraźny profil ofensywny (Atak 110) i wystarczające tempo lub wytrzymałość, by być praktycznym członkiem drużyny podczas przechodzenia fabuły.
ma wyraźny profil ofensywny (Atak 125) i wystarczające tempo lub wytrzymałość, by być praktycznym członkiem drużyny podczas przechodzenia fabuły.
może obsługiwać ruchy terenowe Strength, Rock Smash, Rock Climb. To dobry kandydat na pomocnika do eksploracji, jeśli te ruchy są wymagane w wybranej wersji gry.
może obsługiwać ruchy terenowe Cut, Strength, Rock Smash. To dobry kandydat na pomocnika do eksploracji, jeśli te ruchy są wymagane w wybranej wersji gry.
profil bazowych statystyk (HP 110 oraz defensywa 120) daje sensowny punkt wyjścia do setów PvP. Konkretna przydatność zależy jednak od formatu, generacji, Ability i dostępnych ruchów.
profil bazowych statystyk (Szybkość 110 i ofensywa 130) daje sensowny punkt wyjścia do setów PvP. Konkretna przydatność zależy jednak od formatu, generacji, Ability i dostępnych ruchów.